Here is the link to the cascade card and matching box tutorial, like the one I made in this post.
Attic Boutique Handbag and Case tutorial.
If you would like a tutorial on how to make the bag in this post, I am sending the link to any of my followers who would like it. So please follow me if you aren't already then e-mail me, (let me know you are a follower) and I will send you the link.
How to use a stamp-a-ma-jig
Please see this post for a tutorial.
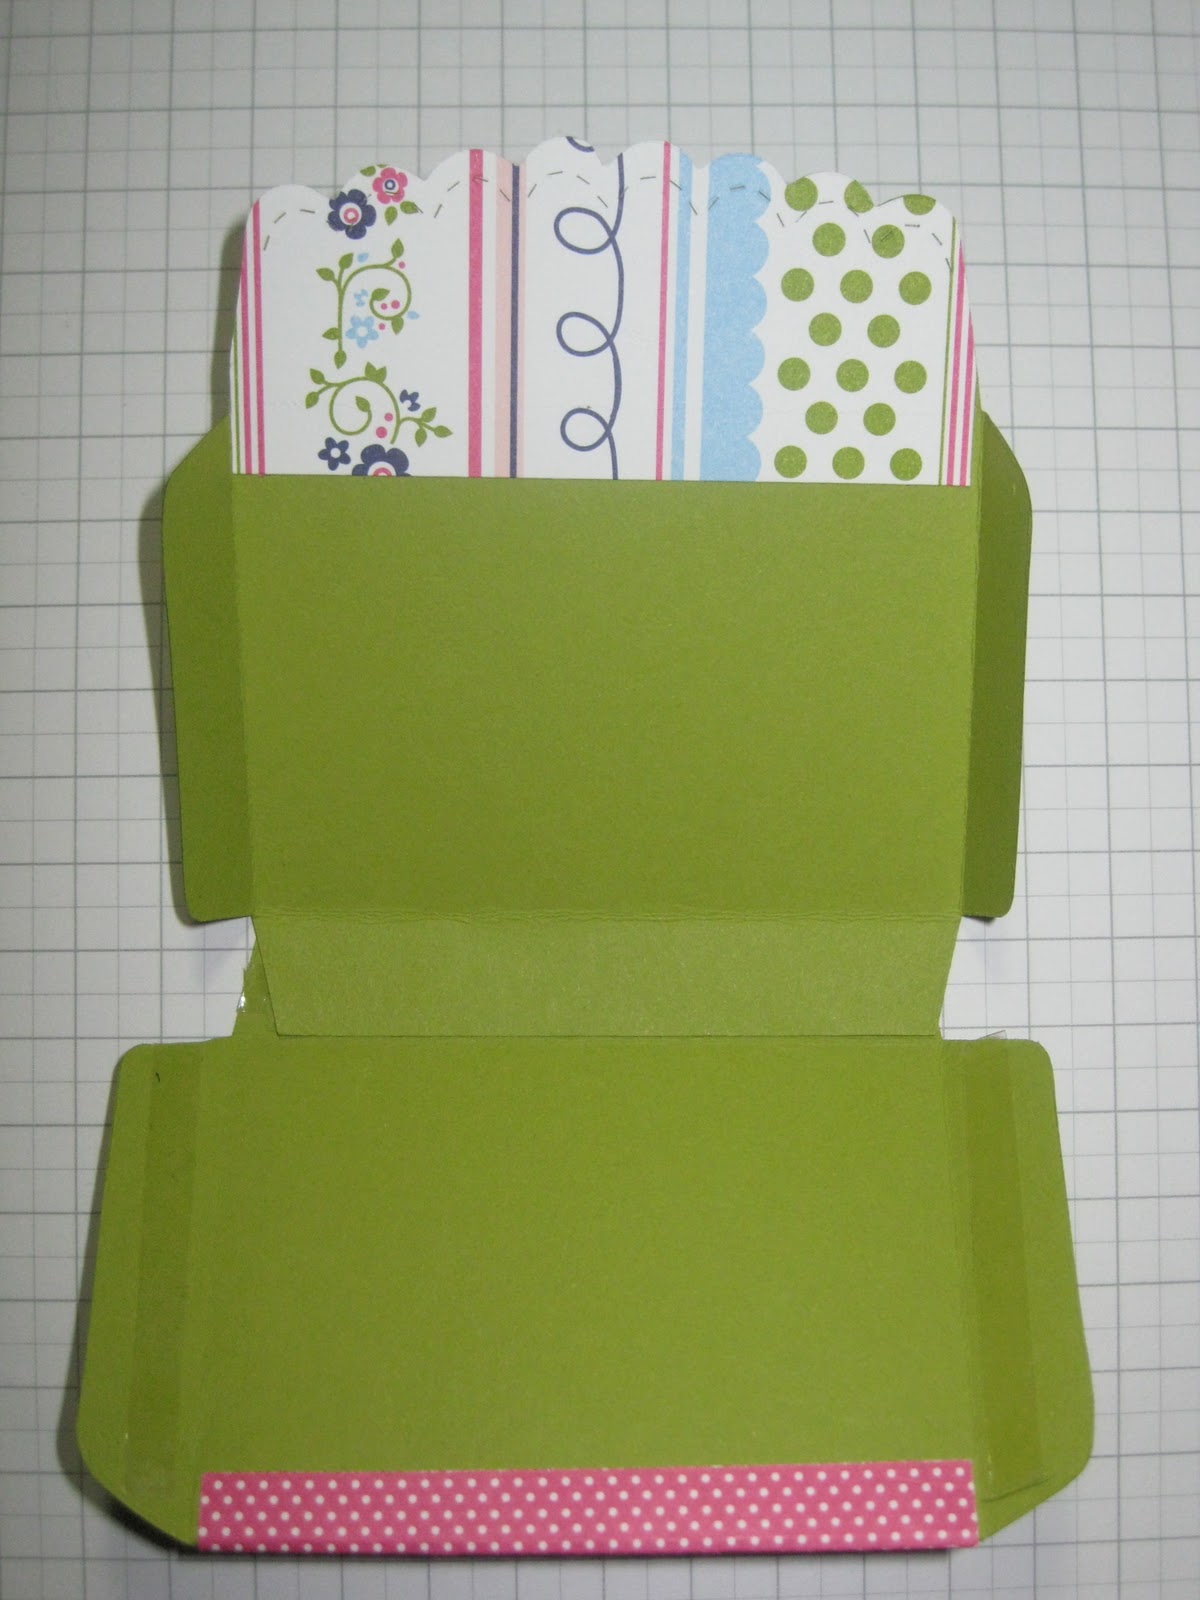
Scallop envelope post-it-note holder.
I hope you enjoy my first tutorial. I tried this great tutorial here but needed something that used a bit less card as I am making quite a few of them, so I have adapted it to make a stand up post-it-note holder.
This tutorial uses the scallop envelope die, as you are making it into a little box you only need a 1/2" flap at the bottom. To save card I actually draw a line 1/2" down on the bottom flat using white gel pen and place the edge of my card on it. The gel pen will come off if you wipe it with a damp cloth.

Cut cardstock 31/8" x 9 1/2" for the easel stand and two pieces 5 1/8" x 4 1/4", die cut 2 scallop envelopes from these, for this tutorial I used lucky limeade. You will get this from 1 sheet of A4 with some card to spare.
Using co-ordinating designer series paper (DSP) cut:
- One 3 1/8" x 2 1/4" - for front panel of the envelope.
- One 3 1/8" x 1 1/2" - for the top of the easel.
- Two 3 1/8" x 1 1/4" - for the top flap of the envelopes - (die cut these, remember one needs to be the same pattern as the front panel and one different).
I used Cheerful Treat DSP which I love, it's in the hostess section of the catalogue so you will need to host a workshop/party to buy it with hostess pounds.

I used tombow multi purpose glue to stick the front panel DSP to the front of envelope 1 and stick the alternative pattern DSP to the back of the front flap of envelope 1 as you will be folding it over.
Stick the remaining DSP top flap onto the top of envelope 2.

I used sticky strip to stick the 2 envelopes together. Put a strip on the side and bottom flaps of one envelope.


Now make your easel stand by scoring your long piece of card at 3 1/2", 7", 8" and 9". Do a mountain fold at 3 1/2" then turn your card upside down, mountain fold 7", valley 8" and mountain 9". Mountain means the fold is at the top or peak, valley the fold is at the bottom, hope that makes sense!
Now turn it back up so all your little folds are at the bottom like in the picture below.

Now put a strip of sticky strip on the back of the 1/2" flap and stick it to the inside bottom edge of the long flap to make your stand. Stick the last strip of DSP to the top of the front of your stand. I hope the picture makes it clearer!!!

I decorated the front of the box by tying some scallop edge ribbon around, then I made a little bow and added an antique brad. Then I attached my box to the front of my stand using sticky strip. Then pop your post-it-notes in!


I know the tutorial seems long but it is quite quick and easy once you know how. Rather than putting ribbon on the front you may want to put a little callender on instead. Please let me know how you get along and link pictures of your holders (if my tutorial is confusing please let me know where!).